Shoprite Catering Brochure PDF: A Comprehensive Guide (Updated 01/24/2026)
Today, January 24, 2026, access the latest Shoprite catering information. Explore menu options, pricing, and event suitability via downloadable PDF brochures. Discover convenient catering solutions!
Shoprite’s catering services represent a significant extension of its core food retailing business, offering comprehensive solutions for a diverse range of events. From intimate gatherings to large-scale functions, Shoprite aims to provide convenient and affordable catering options throughout South Africa and increasingly, across other African markets like Nigeria. The service is designed to leverage Shoprite’s extensive supply chain and logistical network, ensuring consistent quality and availability.
Understanding the growing demand for accessible catering, Shoprite focuses on delivering value-added services beyond simply providing food. This includes potential integration with Shoprite’s financial services, such as utilizing stamps for savings or Pep Money accounts for budgeting. The catering division operates alongside Checkers Food Services, offering a competitive landscape within the same retail group, with Checkers often positioned for larger stock and higher quality requirements.
Information regarding specific offerings, pricing, and menu details is readily available through regularly updated PDF brochures, designed to be a comprehensive guide for potential clients. These brochures are crucial for planning events and understanding the full scope of Shoprite’s catering capabilities.
Understanding the Shoprite Catering Offering
Shoprite Catering distinguishes itself by integrating seamlessly with the broader retail ecosystem. It’s not merely a standalone service, but an extension of the established grocery network, benefiting from existing infrastructure and purchasing power. This allows for competitive pricing and a focus on accessibility, catering to a wide demographic.
The offering encompasses a variety of event sizes, though comparisons to Checkers Food Services suggest Shoprite caters effectively to more standard requirements, while Checkers targets larger, more demanding events. The PDF brochures detail menu options, often highlighting South African cuisine, and provide insights into package deals.
Furthermore, Shoprite’s catering service is increasingly linked to its loyalty programs and financial services. Customers can potentially leverage stamp collections or Pep Money accounts to offset catering costs, adding significant value. The convenience factor is also emphasized, particularly with locations like Shoprite Milnerton offering easy access for supplies and planning.
Availability of Shoprite Catering Brochures (PDF Format)
Shoprite Catering brochures in PDF format are primarily available online, reflecting a shift towards digital accessibility. While physical copies may exist in select stores, the most current and comprehensive versions are consistently hosted on the company’s digital platforms. This ensures customers always have access to the latest menu options, pricing structures, and promotional offers.
Finding these PDF brochures requires navigating the Shoprite website, often through dedicated catering sections or promotional landing pages. Regular updates, as evidenced by the “Updated 01/24/2026” designation, demonstrate a commitment to providing relevant information.
The digital format allows for easy downloading, sharing, and printing, catering to diverse customer preferences. Information gleaned from recent reports suggests a focus on streamlining this process, making it simpler for event planners to access essential details. The brochures serve as a central resource for understanding the full scope of Shoprite’s catering capabilities.
Where to Find the Latest Shoprite Catering Brochure PDF Online
Locating the most recent Shoprite Catering PDF brochure requires a focused online search. Begin by visiting the official Shoprite website – specifically, navigate to sections dedicated to catering services. Look for links labeled “Catering Menu,” “Brochures,” or “Promotions,” as these frequently host downloadable PDF documents.
Alternatively, utilize search engines (Google, Bing, etc.) with specific keywords like “Shoprite Catering Brochure PDF 2026” or “Shoprite Catering Menu PDF.” This will often yield direct links to the official Shoprite resources. Be cautious of third-party websites and prioritize links originating from Shoprite’s domain.
Checking Shoprite’s social media channels (Facebook, Twitter) can also reveal announcements and links to new brochures. Furthermore, exploring regional Shoprite websites (e.g., Shoprite Nigeria) may provide localized catering brochures tailored to specific market offerings. Always verify the date on the PDF to ensure it’s the latest version, updated as of January 24, 2026.
Shoprite Catering: Menu Options & Variety
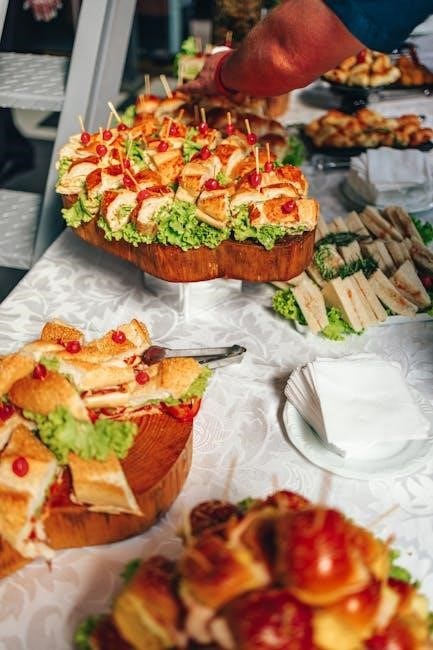
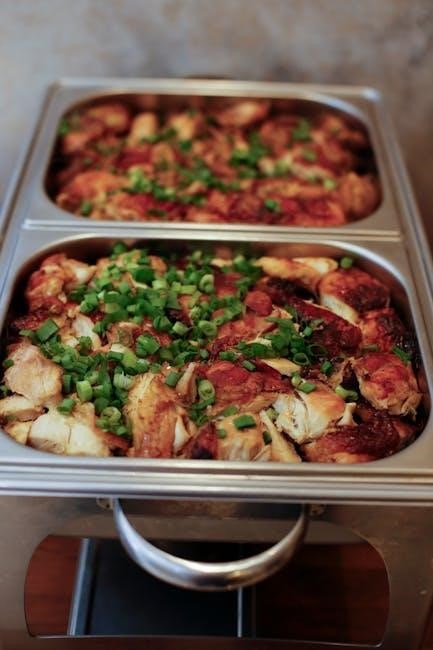
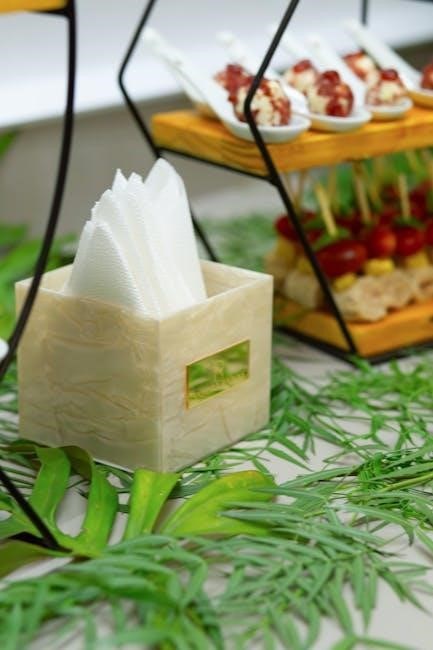
The Shoprite Catering service boasts a diverse menu designed to accommodate a wide range of tastes and event types. While specific details are best obtained from the latest PDF brochure, generally, offerings include platters featuring cold meats, cheeses, and salads – ideal for casual gatherings.
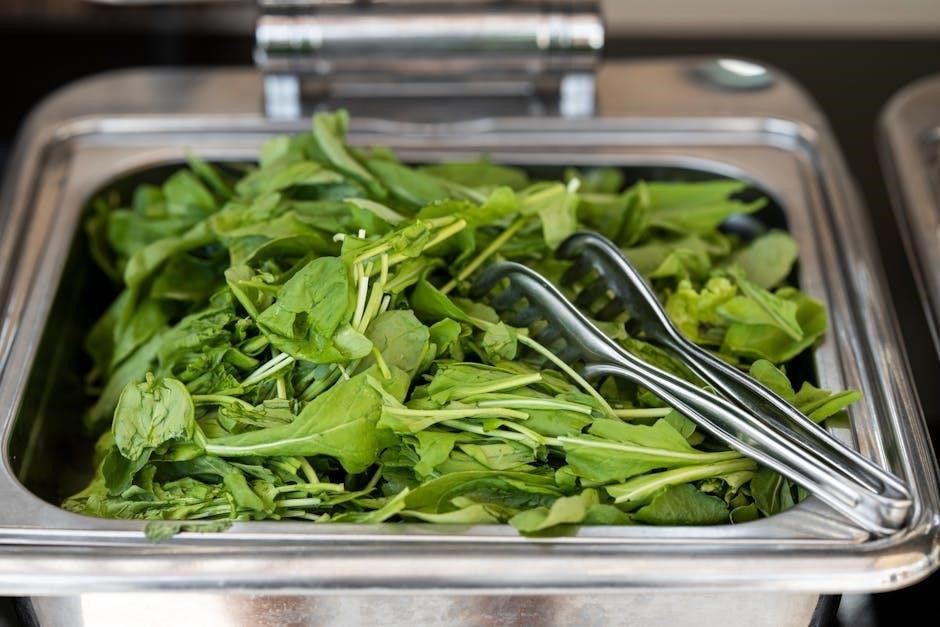
Hot food options typically encompass a selection of prepared dishes, from traditional South African cuisine to international favorites. Expect choices like curries, stews, grilled meats, and vegetable sides. Shoprite also provides dessert options, including cakes, pastries, and fruit platters.
For larger events, customized catering packages are available, allowing clients to tailor the menu to their specific needs and preferences. Comparing Shoprite’s offerings with Checkers Food Services reveals that Shoprite focuses on broader accessibility, while Checkers may cater to higher-quality, larger-stock requirements. The PDF brochure will detail current menu items, pricing, and package options, ensuring informed decision-making.
Focus on South African Cuisine in Shoprite Catering
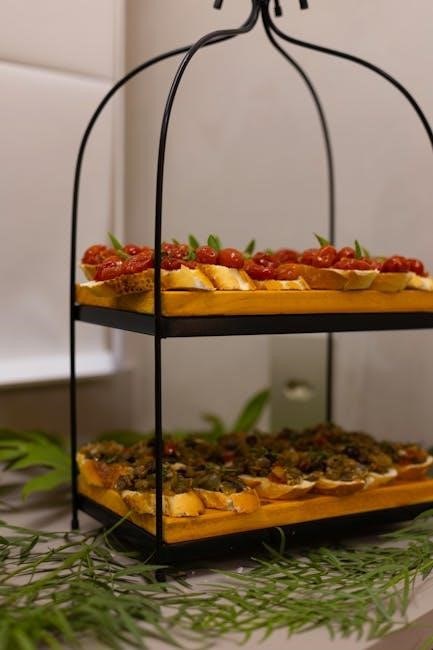
Shoprite Catering prominently features South African culinary traditions, reflecting the company’s deep roots within the nation. The latest PDF brochure will showcase a range of dishes celebrating local flavors and ingredients. Expect to find popular choices like boerewors, biltong, and traditional braai (barbecue) options.

Traditional stews, such as bobotie and bredie, are frequently included, offering guests an authentic taste of South African home cooking. Side dishes often feature pap, chakalaka, and other regional specialties. The catering service understands the importance of cultural relevance and aims to provide a menu that resonates with local palates.
While international options are available, the emphasis remains on showcasing the rich diversity of South African cuisine. The PDF brochure provides detailed descriptions of each dish, highlighting its origins and ingredients. This focus ensures a uniquely South African catering experience, appealing to both locals and visitors alike. Exploring the brochure is key to understanding the full extent of these offerings.
Catering for Different Event Sizes
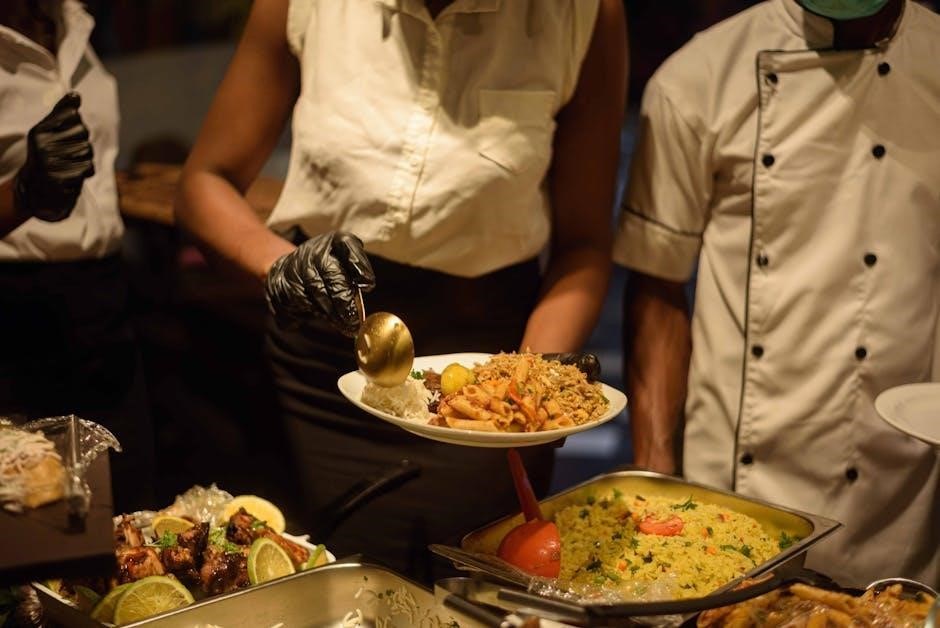
Shoprite Catering adapts its services to accommodate a wide spectrum of event sizes, from intimate gatherings to large-scale functions. The comprehensive PDF brochure details options for various guest counts, ensuring a tailored catering solution for every need. Smaller events, such as family celebrations or corporate lunches, can benefit from flexible platter and buffet selections.
For medium-sized events – think conferences or milestone birthdays – Shoprite offers customized menu packages with dedicated service staff. Larger events, including weddings and festivals, receive comprehensive event planning support, including logistical coordination and extensive menu choices.
The brochure clearly outlines minimum order requirements and potential surcharges for smaller events. It also details the capacity for larger functions, including maximum guest limits and available staffing levels. Understanding these details within the PDF is crucial for accurate event planning. Shoprite strives to provide scalable catering solutions, ensuring seamless service regardless of event magnitude.
Shoprite Catering Pricing & Packages
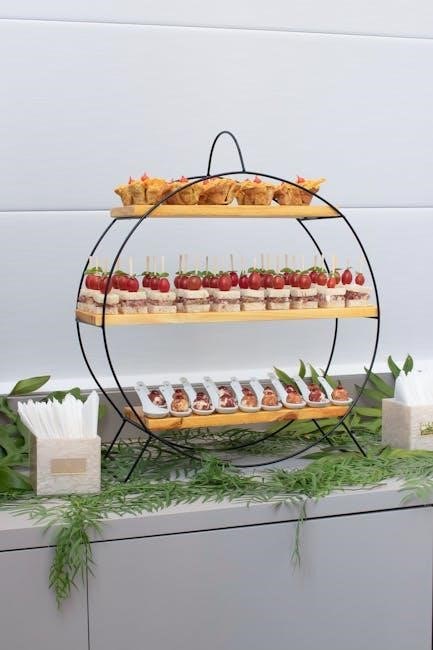
The Shoprite Catering PDF brochure provides a detailed overview of available pricing and package options. While specific costs vary based on menu selections and event size, the brochure outlines several pre-designed packages to simplify the selection process. These packages typically include a set menu, serving ware, and basic setup, offering a convenient all-in-one solution.
Customers can also opt for fully customized catering, allowing them to select individual items and tailor the menu to their specific preferences. The PDF details per-item pricing for a wide range of food options, enabling accurate cost estimation. Consideration should be given to potential additional charges for specialized dietary requirements or unique presentation requests.
Furthermore, the brochure highlights potential savings through Shoprite loyalty programs (see section on Loyalty Programs). Comparing Shoprite’s pricing with competitors like Checkers Food Services (detailed elsewhere in this guide) is encouraged to ensure optimal value. Detailed quotes are available upon request, based on the finalized menu and event details.
Comparing Shoprite Catering to Checkers Food Services
The Shoprite Catering PDF brochure doesn’t directly compare to Checkers Food Services, but information suggests key distinctions. Checkers is positioned as offering “better prices on bigger stocks with higher quality” for catering needs. This implies Checkers may be more suitable for larger events requiring substantial quantities of food.
Shoprite Catering, as detailed in the PDF, appears to focus on broader accessibility and convenience, potentially catering to a wider range of event sizes and budgets. The brochure showcases diverse menu options and package deals, offering flexibility. However, for bulk purchases and a perceived emphasis on premium quality, Checkers may present a more compelling value proposition.
Ultimately, the best choice depends on specific event requirements. The PDF assists in evaluating Shoprite’s offerings, while a separate assessment of Checkers Food Services is recommended. Consider factors like guest count, desired food quality, and budgetary constraints when making a decision. Both brands fall under the same parent group, offering a degree of consistency.
Value-Added Retail Services Beyond Food Retailing
While the Shoprite Catering PDF brochure primarily focuses on food offerings, it’s important to recognize Shoprite’s broader strategy of “value-added retail services.” The group’s core business extends beyond simply food retailing, encompassing diverse industries including technology.
This diversification is reflected in financial services offered within the Shoprite ecosystem. The PDF doesn’t detail these directly, but external information highlights Shoprite’s stamp program – purchasing stamps for future value (R20 buys R2200 in November) – and Pep Money accounts, offering potential savings for catering-related expenses. These services enhance customer loyalty and purchasing power.
Furthermore, the convenience of locations like Shoprite Milnerton, situated near hotels and amenities, contributes to this value-added experience. These integrated services demonstrate Shoprite’s commitment to providing a holistic retail experience, extending beyond the immediate catering purchase. The PDF represents one facet of a larger, interconnected retail network.
Shoprite’s Presence in Nigeria and Other African Markets
Although the Shoprite Catering PDF brochure doesn’t explicitly detail regional variations, understanding Shoprite’s broader African footprint is crucial. As of 2024, Shoprite maintains a significant presence in Nigeria, a key market within its extensive network.
This widespread presence suggests catering services, and therefore the information within the PDF, may be adapted to suit local tastes and preferences across different African nations. While the core offerings likely remain consistent, menu options and pricing could vary based on regional availability and economic factors.
The company’s success in diverse African markets demonstrates its adaptability and understanding of local consumer needs. The PDF serves as a baseline, but potential customers in Nigeria, or elsewhere in Africa, should inquire about specific catering options available in their region. Further research into local Shoprite branches is recommended to confirm details not fully outlined in the standard brochure.
Shoprite Loyalty Programs & Catering Discounts
The Shoprite Catering PDF brochure itself doesn’t detail specific loyalty program integrations, however, Shoprite’s broader customer reward systems potentially offer catering benefits. Customers can leverage Shoprite stamps, accumulating value with purchases – for example, buying R20 stamps or saving R200 monthly yields R2200 in November.
Furthermore, the Pep Money account, offering R7200 by saving R20 daily by the end of the year, could be strategically utilized to fund catering orders. While not directly advertised within the PDF, these financial tools provide customers with avenues to offset catering costs.
It’s advisable to inquire directly with Shoprite catering representatives about whether loyalty points or these savings programs can be applied to catering packages. Exploring these options could unlock significant discounts, making Shoprite catering a more affordable choice. Proactive questioning is key to maximizing potential savings beyond what’s explicitly stated in the brochure.
Shoprite Milnerton & Convenience for Catering Supplies
While the Shoprite Catering PDF brochure focuses on menu options and services, the proximity of stores like Shoprite Milnerton enhances the overall catering experience. Its convenient location provides easy access to supplementary supplies not explicitly included in catering packages.
Customers can readily purchase additional beverages, decorations, disposable tableware, or any last-minute items needed to complement their catered event. This accessibility streamlines event preparation, reducing the need for multiple shopping trips.
The Shoprite Milnerton location, as noted in related travel information, is situated near parks and scenic areas, making it ideal for events requiring outdoor setup; This synergy between catering services and retail convenience simplifies logistics for event planners.
Although the PDF doesn’t directly highlight this benefit, the store’s presence offers a practical advantage, particularly for customers organizing events in the Milnerton area. It’s a valuable, though unstated, component of the Shoprite catering solution.

Employee Updates & Internal Newsletters (ShopRite of Carmel Example)
Although not directly featured within the Shoprite Catering PDF brochure, internal communications, like the ShopRite of Carmel newsletter, reveal the dedication behind the service. These updates demonstrate employee promotions and recognition, highlighting the team delivering catering experiences.
Such internal news indirectly impacts catering quality. Motivated and recognized employees are more likely to provide excellent service and attention to detail when fulfilling catering orders. This translates to a positive experience for customers reviewing the PDF menu options.
The newsletter’s focus on employee growth suggests a commitment to training and development, potentially extending to catering-specific skills. While the PDF showcases what’s offered, the internal culture supports its execution.
Understanding this internal dynamic provides context. It’s a reminder that catering isn’t just about a menu; it’s about the people preparing and delivering the food. The ShopRite of Carmel example illustrates a supportive environment contributing to service excellence, even if not explicitly stated in the PDF.
Shoprite Financial Services & Potential Catering Benefits (Stamps & Pep Money)
While the Shoprite Catering PDF brochure focuses on menu options and pricing, leveraging Shoprite’s financial services can enhance affordability for customers. The availability of Shoprite stamps – purchasing R20 stamps yields R2200 in November – presents a significant saving opportunity for larger catering events.
Similarly, the Pep Money account, with a daily deposit of R20 resulting in R7200 by year-end, offers another avenue for accumulating funds specifically for catering needs. These financial tools, though not detailed within the PDF itself, complement the catering service;
Customers planning events can strategically utilize these programs to offset catering costs, effectively increasing their budget. This demonstrates Shoprite’s integrated approach, extending beyond food retailing to provide financial solutions.
The PDF brochure doesn’t advertise these benefits directly, but awareness of Shoprite’s broader ecosystem allows customers to maximize value. It’s a smart way to combine catering convenience with financial planning, making events more accessible and affordable.
Shoprite’s Core Business: Food Retailing & Catering Integration
The Shoprite Catering PDF brochure exemplifies the company’s strategic integration of catering services within its core food retailing business. Shoprite’s primary focus remains food retail, but catering acts as a valuable extension, capitalizing on existing infrastructure and supply chains.
This synergy allows Shoprite to offer competitive pricing and a diverse menu, as detailed in the PDF. The catering division benefits from the established purchasing power and logistical network of the larger retail operation. This integration isn’t explicitly highlighted in the PDF, but it’s fundamental to the service’s viability.
Furthermore, the company’s expansion into “value-added retail services” – including technology and financial offerings – supports the catering business indirectly. The PDF showcases the catering options, while the broader Shoprite ecosystem enhances customer convenience and affordability.
Essentially, catering isn’t a standalone venture but a natural progression of Shoprite’s commitment to providing comprehensive food solutions. The PDF serves as a window into this integrated approach, demonstrating how Shoprite leverages its core strengths to meet diverse customer needs.
Shoprite Locations & Contact Information (Johannesburg, Gauteng)
While the Shoprite Catering PDF brochure doesn’t directly list all store locations, it’s crucial to understand regional access to these services. In Johannesburg, Gauteng, Shoprite maintains a significant presence, facilitating catering order placement and pickup.
Specifically, the Shoprite store located in the Central Business District, on Helen Joseph Street, serves as a key point of contact. However, catering availability may vary between branches; consulting the PDF for specific menu options is recommended before visiting. Unfortunately, a direct phone number for catering inquiries isn’t provided in the available information.
Customers seeking detailed location information or catering-specific contact details should utilize Shoprite’s official website. The PDF brochure acts as a menu and service overview, while the website provides logistical details.
Remember that the Shoprite in Milnerton, mentioned in relation to nearby hotel convenience, is not in Johannesburg, Gauteng. For Gauteng catering, focus on stores within the province, utilizing online resources to confirm availability and contact information not found within the PDF.
Russian Federation Chamber of Commerce & International Partnerships
The connection between the Russian Federation Chamber of Commerce and the Shoprite Catering PDF brochure appears indirect, yet highlights Shoprite’s broader international ambitions. The Chamber’s welcoming of participants and organizers at specialized events suggests a potential platform for Shoprite to showcase its catering services to a Russian audience.
While the PDF itself doesn’t detail specific Russian market strategies, Shoprite’s presence in multiple African markets demonstrates a capacity for international expansion. The Chamber of Commerce could facilitate partnerships for potential franchise opportunities or supply chain connections related to catering provisions.
The Moscow Oblast Humanitarian Institute, as a journal founder, represents a potential avenue for advertising the Shoprite Catering PDF brochure within academic and professional circles. This could raise awareness among event planners and businesses seeking catering solutions.
Ultimately, the link signifies Shoprite’s engagement with international trade organizations, potentially paving the way for future catering service offerings beyond its current African footprint, though direct evidence within the PDF is absent.
Moscow Oblast Humanitarian Institute & Educational Connections
The Moscow Oblast Humanitarian Institute’s role as a journal founder presents a subtle, yet potentially valuable, connection to the Shoprite Catering PDF brochure. This institute, focused on higher education, could serve as a key channel for disseminating information about Shoprite’s catering services to a relevant audience.
Specifically, the institute’s academic network – encompassing students, faculty, and event organizers – represents a target demographic for catering solutions. Advertising the PDF brochure within the institute’s publications or through campus events could generate leads and increase brand awareness.
Educational institutions frequently require catering for conferences, seminars, and celebrations. Positioning Shoprite as a reliable and affordable catering provider through targeted outreach to the institute could yield significant benefits.
While the PDF brochure itself doesn’t explicitly mention this partnership, leveraging educational connections demonstrates a strategic approach to market penetration. It highlights Shoprite’s potential to tap into a consistent demand for catering services within the academic community.
Future Trends in Shoprite Catering & Brochure Updates
Looking ahead, Shoprite catering’s PDF brochure will likely evolve to reflect shifting consumer preferences and technological advancements. Expect increased emphasis on digital accessibility, potentially incorporating QR codes linking to online ordering platforms and interactive menus.
Personalization will be key. Future brochures may feature customizable catering packages, allowing customers to tailor menus to specific dietary needs and event themes. Integration with Shoprite’s loyalty programs, offering exclusive catering discounts (like the stamp program offering R2200), will become more prominent.
Sustainability is another emerging trend. Brochures could highlight Shoprite’s commitment to sourcing local ingredients and reducing food waste. Comparisons to competitors like Checkers Food Services, emphasizing value and quality, will likely continue.
Regular updates – mirroring the current “Updated 01/24/2026” – are crucial. The PDF must remain a dynamic resource, reflecting seasonal menu changes, promotional offers, and expansion into new African markets like Nigeria. Expect a focus on convenience and value.