Lloyd’s BBQ Ribs are renowned for their tender, flavorful texture and rich barbecue taste. Achieving perfection requires proper cooking techniques, ensuring a delicious and memorable dining experience.
Overview of Lloyd’s BBQ Ribs
Lloyd’s BBQ Ribs are a beloved dish known for their mouthwatering flavor and tender texture. Perfectly balancing smoky and savory notes, these ribs are a staple in barbecue cuisine. The secret lies in the combination of high-quality meat, precise cooking techniques, and flavorful sauces or rubs. Whether grilled, oven-cooked, or slow-cooked, Lloyd’s BBQ Ribs deliver a consistent and delicious result. Their popularity stems from the rich, fall-off-the-bone experience they offer, making them a favorite at gatherings and celebrations. Understanding the basics of rib preparation and cooking methods is essential to achieving this iconic dish. With proper care and attention, anyone can master the art of cooking Lloyd’s BBQ Ribs to perfection.
Importance of Proper Cooking Techniques
Proper cooking techniques are crucial for achieving delicious, tender Lloyd’s BBQ Ribs. Improper methods can result in tough, dry meat or undercooked portions, which compromise the overall quality. Techniques like low-and-slow cooking ensure even distribution of heat, breaking down connective tissues for a tender texture. Maintaining consistent temperatures prevents overcooking, while careful sauce application enhances flavor without burning. Attention to detail in preparation, such as removing the membrane and seasoning generously, also plays a significant role. By mastering these techniques, you ensure a juicy, flavorful outcome that elevates the dish to perfection. Proper cooking not only enhances taste but also guarantees a safe and enjoyable dining experience for everyone.
Preparation for Cooking
Preparation is key to achieving delicious Lloyd’s BBQ Ribs. Gather tools, ingredients, and select the right rib cut. Properly prepping the ribs ensures optimal flavor and tenderness.
Tools and Equipment Needed
To cook Lloyd’s BBQ Ribs successfully, you’ll need essential tools and equipment. A sturdy rib rack ensures even cooking, while tongs and a cutting board help with prep. A sharp knife is vital for trimming excess fat and removing the membrane. Aluminum foil and a meat thermometer are crucial for maintaining moisture and monitoring internal temperatures. A basting brush is perfect for applying sauces and rubs evenly. Protective gloves and an apron are recommended for handling hot racks and messy prep work. A cooler or large container can store ribs during resting. Depending on your method, you’ll also need a grill, oven, or slow cooker. Proper tools ensure a smooth and enjoyable cooking process.
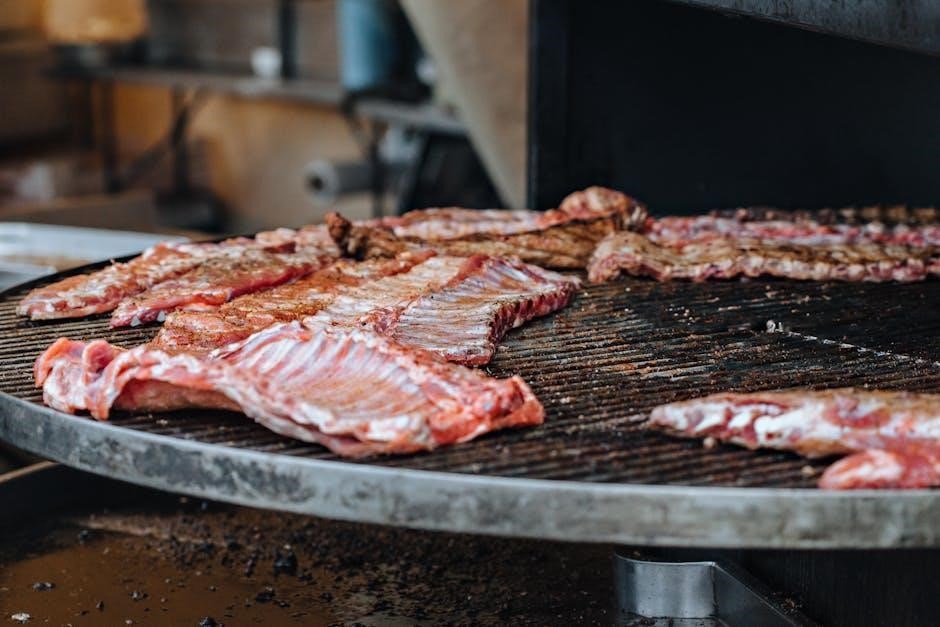
Understanding Rib Cuts and Selection
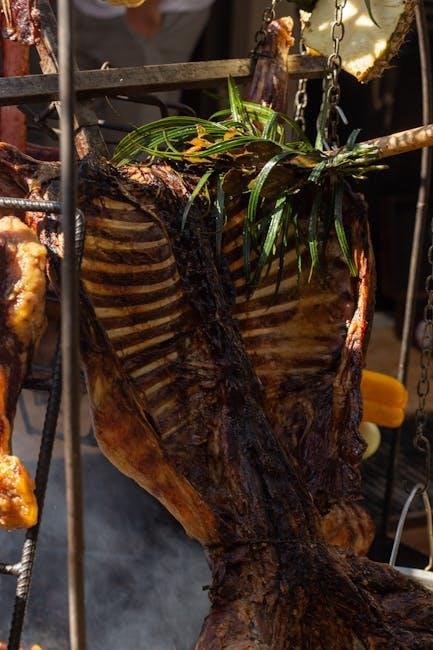
Understanding rib cuts is essential for achieving the best results with Lloyd’s BBQ Ribs. The most common cuts include baby back ribs, spare ribs, and St. Louis-style ribs. Baby back ribs are leaner, curved, and easier to cook evenly. Spare ribs are meatier and have more fat, making them juicier but requiring longer cooking times. St. Louis-style ribs are trimmed of breastbone and cartilage, offering a uniform size for consistent cooking. When selecting ribs, look for fresh, red meat with good marbling for tenderness. Avoid ribs with discolored or dry spots. For Lloyd’s BBQ Ribs, St. Louis-style or baby back ribs are ideal due to their even shape and flavorful potential. Always choose ribs from a reputable butcher or grocery store for the best quality.
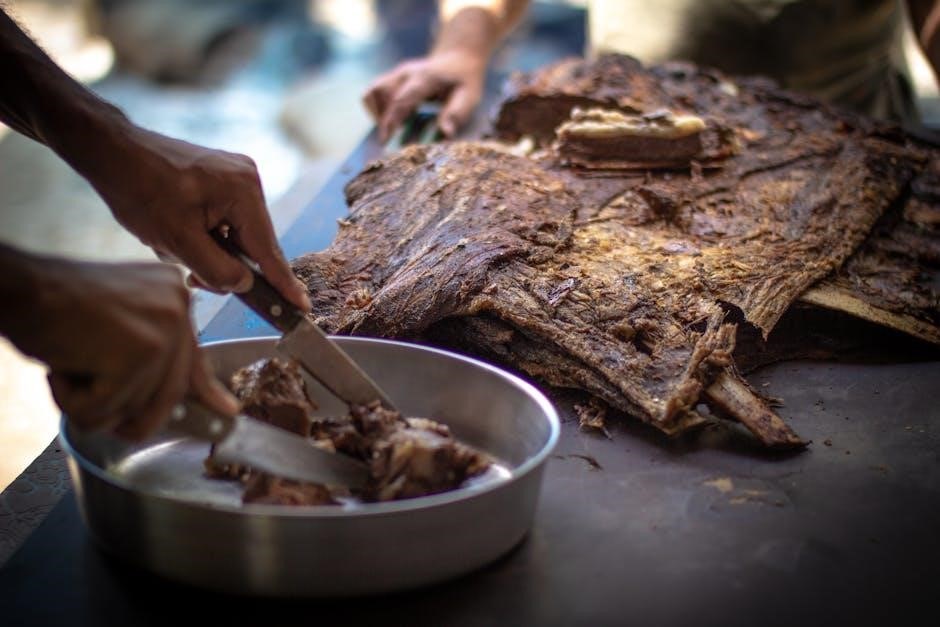
Prepping the Ribs for Cooking
Properly prepping Lloyd’s BBQ Ribs ensures a flavorful and tender result. Start by removing the membrane from the back of the ribs, as this helps the meat absorb seasonings and cook evenly. Trim any excess fat or cartilage for a cleaner presentation. Rinse the ribs under cold water, then pat them dry with paper towels to remove moisture. Lightly sprinkle both sides with a dry rub, focusing on even distribution to enhance flavor. Allow the ribs to sit for 15-30 minutes after seasoning to let the meat absorb the spices. This step ensures a rich, savory crust forms during cooking. Resting the ribs before cooking also helps maintain their structure and prevents them from tearing. Proper preparation sets the foundation for perfectly cooked BBQ ribs.
Cooking Methods
Lloyd’s BBQ Ribs can be prepared using grilling, oven cooking, or a slow cooker. Each method offers unique flavor profiles, from smoky grilling to tender oven results, ensuring delicious outcomes.
Grilling Instructions
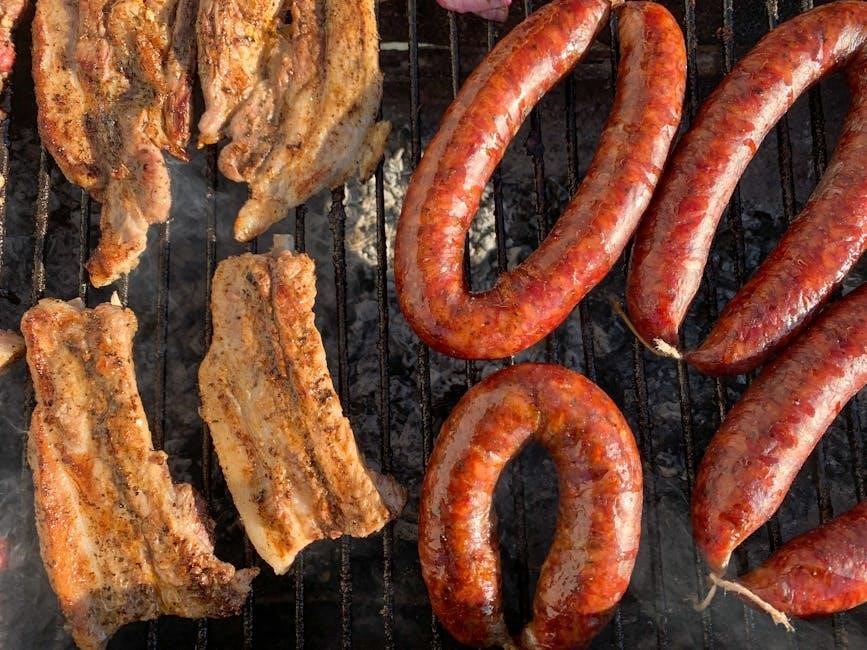
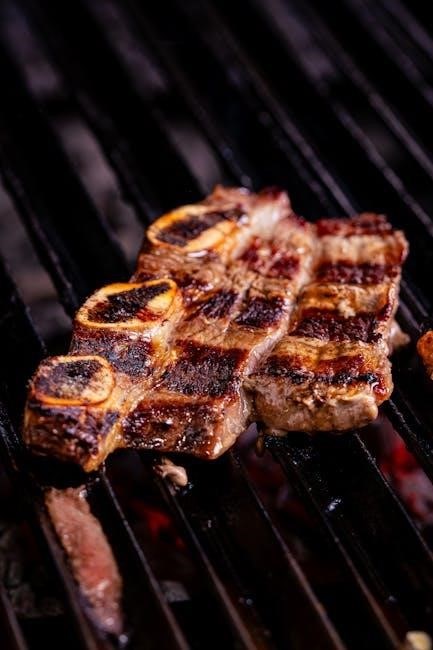
For grilling Lloyd’s BBQ Ribs, start by preheating your grill to 275°F (135°C) using indirect heat. Clean and oil the grates to prevent sticking. Place the ribs bone-side down, close the lid, and cook for 2-3 hours, or until the meat starts to pull away from the bone. Add wood chips like hickory or apple for a smoky flavor. After 2 hours, brush the ribs with your favorite BBQ sauce. Wrap them in foil for the last 30 minutes to retain moisture. Remove, let rest for 10 minutes, then slice and serve. This method ensures tender, flavorful ribs with a perfect char.
Oven Cooking Instructions
Cooking Lloyd’s BBQ Ribs in the oven offers a convenient and flavorful alternative to grilling. Preheat the oven to 300°F (150°C). Line a baking sheet with foil and place a wire rack on top. Arrange the ribs bone-side down on the rack. Season generously with a dry rub, ensuring even coverage. Roast for 2-2.5 hours, or until the meat begins to pull away from the bone. After 1.5 hours, brush the ribs with BBQ sauce and return to the oven for an additional 20-30 minutes to caramelize the sauce. Let the ribs rest for 10 minutes before slicing. This method ensures tender, juicy ribs with a rich, caramelized crust.
Slow Cooker Method
The slow cooker method provides a hassle-free way to cook Lloyd’s BBQ Ribs to tender perfection. Season the ribs with your desired dry rub and let them sit for 15-20 minutes. Place the ribs in the slow cooker, bone-side down, and cook on low for 8 hours or high for 4 hours. After 6 hours, brush the ribs with BBQ sauce, ensuring even coverage. Continue cooking for the remaining time to allow the sauce to thicken and adhere. Once done, remove the ribs and let them rest for 5-10 minutes before slicing. This method ensures fall-off-the-bone tenderness and rich, tangy flavor. Serve with extra BBQ sauce for dipping, if desired.
During the Cooking Process
Monitor the ribs’ temperature and moisture to ensure optimal results. Maintain a consistent heat level and baste periodically to retain flavor and tenderness throughout cooking.
Temperature and Timing Guidelines
Maintaining the right temperature and timing is crucial for perfectly cooked ribs. Preheat your grill or oven to 275°F (135°C) for low and slow cooking. For tender results, cook ribs for 4-5 hours, or until they reach an internal temperature of 160°F to 180°F (71°C to 82°C). Use a meat thermometer to ensure accuracy. Wrap ribs in foil during the last 30 minutes to retain moisture. Adjust cooking time based on rib type and thickness, ensuring even doneness. Proper temperature control prevents overcooking and guarantees flavorful, fall-off-the-bone ribs every time.
Maintaining Moisture and Flavor
Maintaining moisture and flavor is essential for delicious BBQ ribs. To keep ribs tender, use a water pan in your grill or oven, adding liquids like apple cider vinegar or beer for extra flavor. Spritzing ribs with a mixture of water, vinegar, or fruit juice every 30 minutes helps retain moisture. Avoid overexposing ribs to direct heat, as this can dry them out. Marinating ribs before cooking and applying a glaze during the final stages enhances flavor. Wrapping ribs in foil during cooking traps steam, ensuring they stay juicy. Properly balancing these techniques guarantees ribs that are both flavorful and moist, delivering a mouthwatering BBQ experience.
When to Add Sauces and Rubs
Adding sauces and rubs at the right time is crucial for perfect BBQ ribs. Apply dry rubs 1-2 hours before cooking to allow seasonings to penetrate the meat. For sauces, wait until the final 10-15 minutes of cooking to prevent burning. During grilling or oven cooking, brush ribs with BBQ sauce toward the end for a caramelized finish. In slow cookers, add sauce near the end to maintain texture. Experiment with different sauce styles, like sweet or spicy, for varied flavors. Timing ensures ribs are tender, flavorful, and perfectly glazed, enhancing the overall BBQ experience without overpowering the natural taste of the meat.
Post-Cooking Steps
After cooking, let ribs rest 5-10 minutes to redistribute juices. Slice them thinly against the bone for tender servings. Serve with additional sauce for extra flavor.
Resting the Ribs
Resting the ribs after cooking is crucial for retaining moisture and flavor. Once cooked, transfer the ribs to a wire rack or tray, tenting them with foil to keep them warm. Allow them to rest for 10 to 15 minutes. During this time, the internal juices redistribute, ensuring each bite remains tender and juicy. Avoid slicing immediately, as this can release valuable moisture. Patience during this step ensures the ribs stay succulent and flavorful, delivering the best possible texture when served. Proper resting enhances the overall quality of the dish, making it a key step in achieving perfectly cooked Lloyd’s BBQ Ribs.
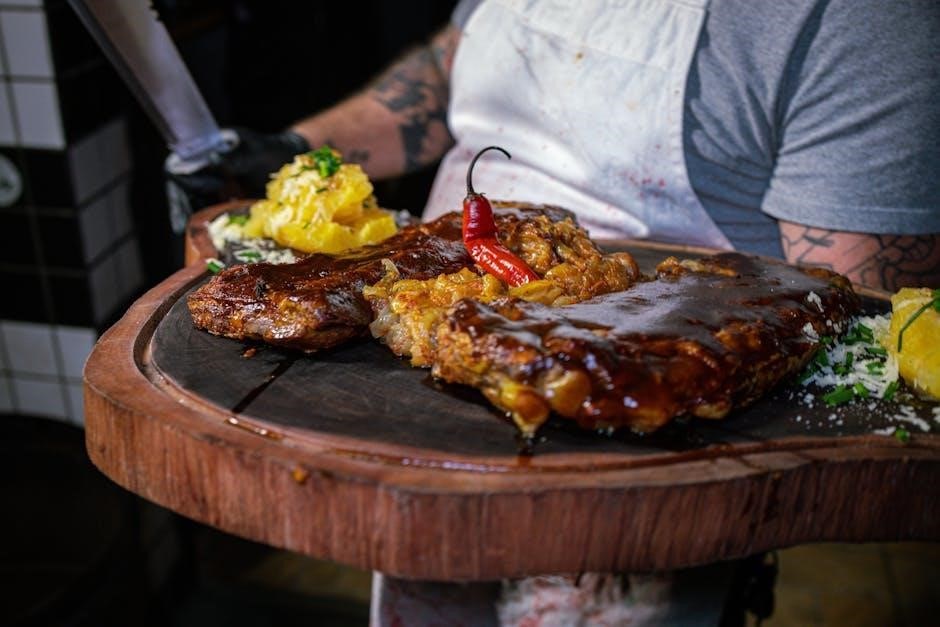
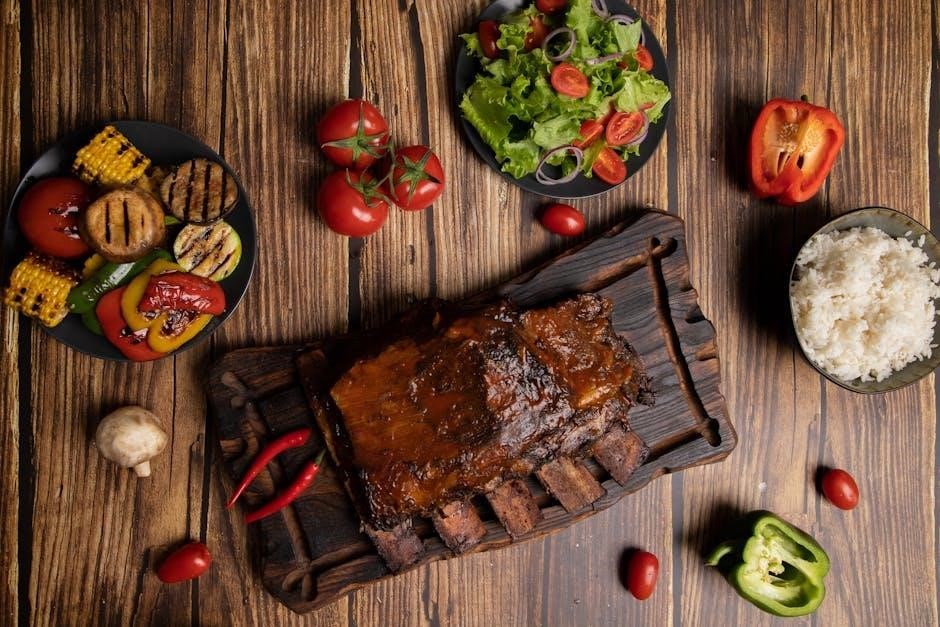
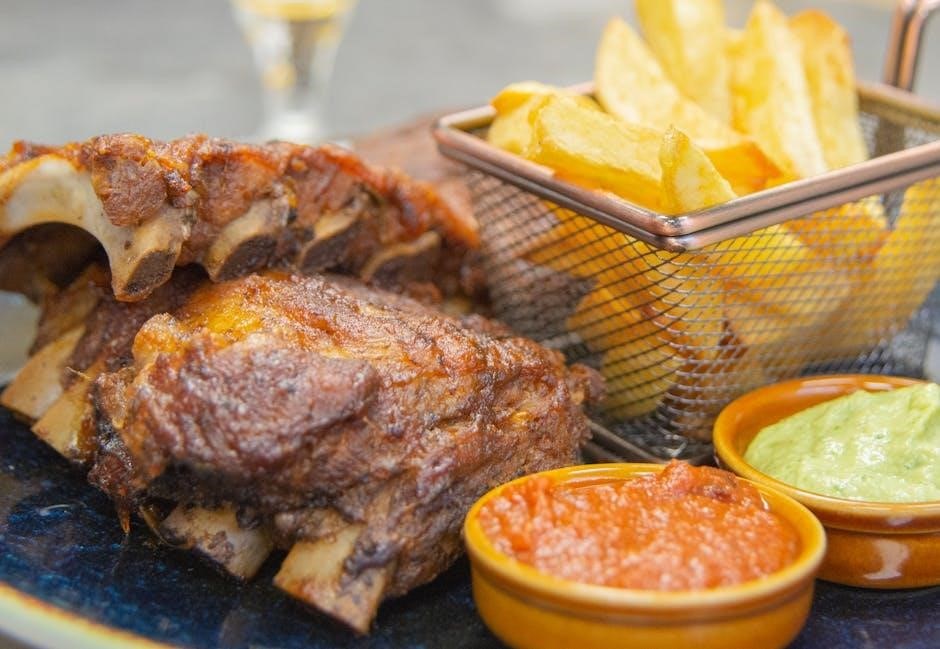
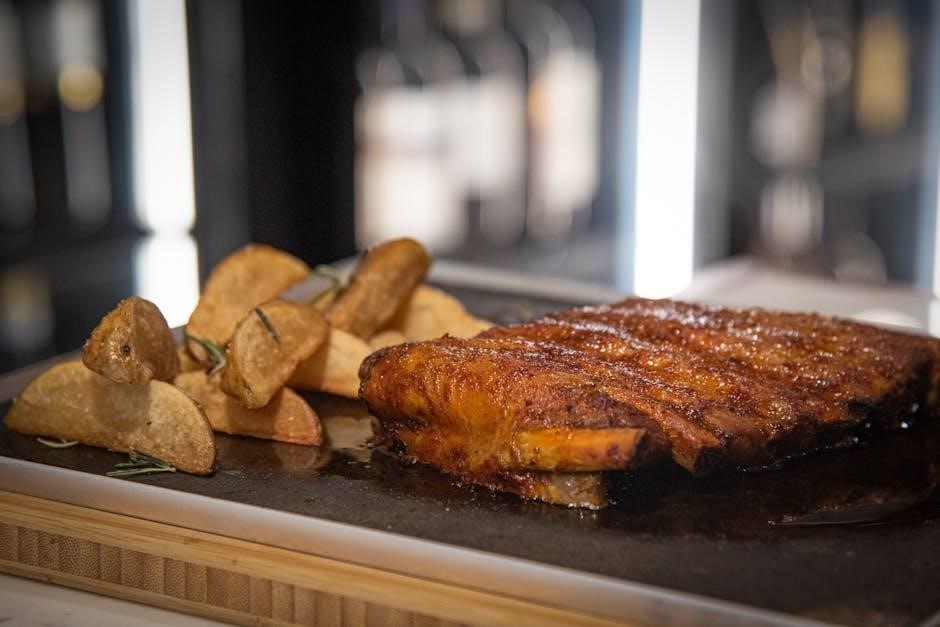
Slicing and Serving Tips
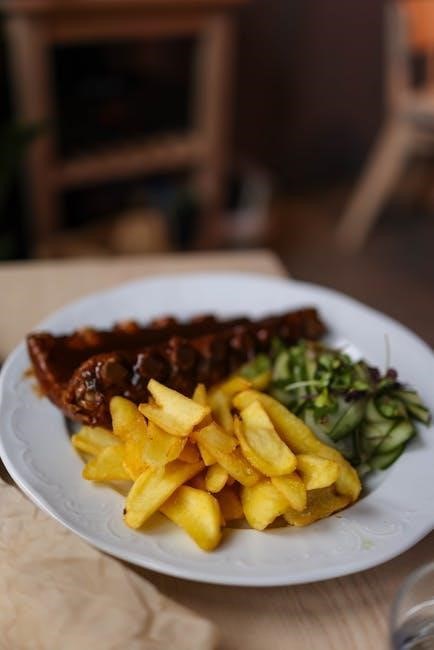
When slicing Lloyd’s BBQ Ribs, use a sharp knife to cut between the bones for clean, even portions. Cut in a gentle sawing motion to avoid tearing the meat. Serve immediately after slicing to preserve warmth and texture. Consider pairing the ribs with classic sides like coleslaw, cornbread, or baked beans for a well-rounded meal. For added presentation, garnish with fresh herbs or a light drizzle of barbecue sauce. Ensure each serving is generous and visually appealing, making the dish both satisfying and visually delightful. Proper slicing and presentation elevate the dining experience, showcasing the care and effort put into cooking the ribs to perfection.
Additional Tips and Variations
Experiment with flavor profiles by incorporating unique rubs or glazes. Try honey-bourbon for sweetness or Korean BBQ for a spicy twist. Marinate ribs overnight for deeper flavor and tender results. Add wood chips during grilling for a smoky aroma. Pair with sides like grilled vegetables or cornbread for a hearty meal. Innovate with slow-cooker recipes, adding cola or pineapple for a tangy twist. Always let ribs rest before slicing to retain juices and ensure a perfectly tender bite every time. These variations and tips enhance the overall cooking experience and provide endless possibilities for customization.
Side Dishes and Pairing Suggestions
When serving Lloyd’s BBQ Ribs, classic sides like coleslaw, baked beans, and cornbread are crowd-pleasers. Grilled or roasted vegetables, such as asparagus or corn on the cob, add a refreshing contrast. For a Southern-inspired meal, include potato salad or collard greens. Pair the ribs with a crisp IPA beer to cut the richness or a sweet Moscato wine for balance. Iced tea or fresh lemonade are perfect drink options. Experiment with pairing the ribs with spicy sides like jalapeño poppers for a bold twist. Ensure a well-rounded meal by balancing smoky, savory, and tangy flavors. These combinations elevate the dining experience and complement the ribs’ rich, barbecue flavor.
Troubleshooting Common Issues
Cooking Lloyd’s BBQ Ribs can sometimes present challenges. If the ribs are too tough, ensure proper cooking time and temperature. For dry ribs, maintain consistent moisture by wrapping them during cooking. Uneven cooking can be resolved by rotating the ribs periodically. If the sauce isn’t sticking, apply it toward the end of cooking. To avoid overcooking, monitor the internal temperature and texture. Soggy texture? Reduce moisture exposure or finish with a shorter cooking time. For charred ribs, lower the heat and adjust cooking time. These tips help achieve perfectly cooked, flavorful ribs every time. By addressing these common issues, you can ensure a delicious and satisfying BBQ experience. Proper troubleshooting enhances both texture and taste, making your dish standout. Always stay attentive during cooking to avoid these pitfalls and enjoy tender, juicy ribs.
Cooking Lloyd’s BBQ Ribs requires patience and attention to detail, but the result is well worth the effort. Perfectly cooked ribs offer a flavorful, tender experience. Enjoy!
Final Thoughts on Achieving Perfect BBQ Ribs
Achieving perfect BBQ ribs is a balance of technique, patience, and flavor. Proper preparation, consistent cooking temperatures, and timely sauce application are key. Resting the ribs ensures tenderness, while maintaining moisture prevents dryness. Practice makes perfect, so experiment with rubs and sauces to find your ideal combination. The end result is a deliciously tender, flavorful dish that impresses every time. Remember, the art of BBQ is about enjoying the process as much as the outcome. With Lloyd’s BBQ Ribs, you’re on your way to creating memorable meals for family and friends.